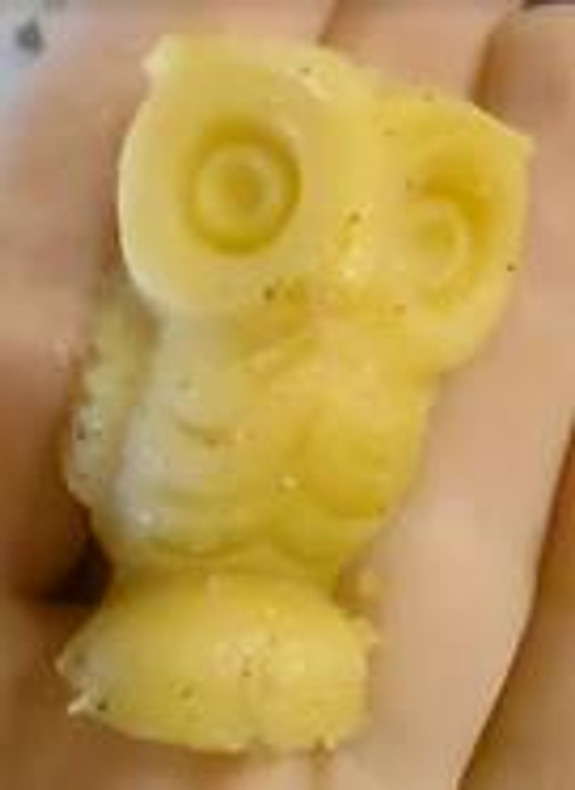
First, Make Your Mold, Then Make Your soap. Then go crazy making more awesome soap shapes.
Cautions: ComposiMold and Putty are very hot when melted and can burn. Leaking Activator can stain furniture. Store in a bag or sealed container.
The lye used in the soap making can be very dangerous. Use gloves and eye protection. Plus melted soap is hot. Be careful not to get the hot soap on your skin when it is melted.
NO not molds like moldy cheese! Mold Making for Making Different Shapes. A mold is the counterpart to a cast. So the whole process consists of taking an original shape, making a reverse or negative shape (the mold), and then casting back to the original shape. And of course, the casting material can be many different types of materials.
- First MAKE YOUR MOLDS from ComposiMold and/or ImPRESSive Putty
You can use Impressive Putty or ComposiMold, the choice is yours. The Impressive Putty can handle temperatures up to about 200 F and the ComposiMold up to about 150 F. The ComposiMold is more flexible/rubbery and is melted and poured over your object to make a mold, whereas the Putty is PRESSED over and around your object. The ImPRESSive Putty doesn’t need a mold box. Both can be reformed to make new shapes any time you want and are re-usable.
For Impressive Putty here’s how to make your mold:
Step 1: Soften the ImPRESSive Putty
Let small portions of Putty sit for 10 minutes or until it can be handled comfortably.
Step 3: Knead Putty for at least 3 minutes to mix evenly. Use a rolling pin or your fingers to smooth Putty and remove any lines. If you are planning on moving your mold before it solidifies, make your mold on a plate.
Step 4: PRESS your master object into Putty or PRESS Putty onto your master object. No mold box is necessary!
Step 5: Let Putty Solidify
Let cool at room temperature for at least 1 hour. (OR put in the Freezer for 15 minutes to cool faster)
The mold is ready when firm to the touch. If you press on the mold and it doesn’t leave an indentation, you are ready to go to the casting!
Pull out your shape and get ready to cast.
Step 7: Remelt to Reuse
Make a completely new mold by following these same instructions each time.
Welcome to the guide on making homemade soap using a Impressive Putty mold. This video will guide you through the step-by-step process of creating your own customized soap.
My Soap Recipe
Ingredients • 10 oz / 284 g olive oil • 3.3 oz / 95 g coconut oil • 4 oz /100g distilled water • 1.85 oz 52.4 g sodium hydroxide lye • 0.5 tbsp finely ground oats • Small tsp honey, mixed with small tsp warm water to dilute • 1/2 tbsp optional extra: your favorite butter or oil (such as melted shea butter, or rosehip seed oil)
Materials Needed: 1. Lye (sodium hydroxide) 2. Distilled water 3. Safety goggles and gloves 4. Measuring cups and spoons 5. Thermometer 6. Impressive Putty mold 7. Various oils (such as olive oil, coconut oil, palm oil) 8. Essential oils or fragrance oils (optional) 9. Mixing bowls 10. Silicone spatula or spoon 11. Scale 12. Soap cutter (optional) 13. Towels or newspapers for cleanup Safety Precautions: 1. Wear safety goggles and gloves throughout the entire process. 2. Work in a well-ventilated area to avoid inhaling fumes. 3. Keep children and pets away from the workspace. 4. Always add lye to water, never the other way around, to avoid splashing.
So here’s how to make the soap. 2. Weigh out the water into the 1 quart mixing container. 3. Wearing gloves and safety goggles, weigh out the lye into the small cup. 4. Sprinkle the lye into the water and stir until completely dissolved. It will turn cloudy for about 10 minutes, heat up a little, and have smelly fumes. Don’t breathe this. 5. Set the lye solution aside in a safe spot to cool. 6. While the lye solution cools, melt the coconut oil. 7. Weigh the olive oil into the larger mixing container, and add the coconut oil once it's melted. 8. When the lye solution is around 90 degrees F, pour the lye solution into the container of warmed oils. 9. Gently mix with a blender the oils and lye solution together in a few short bursts. 10. Add diluted honey, and any extra oils or butters now. 11. Stir gently, 12. Mix until the soap mixture begins to thicken slightly. 13. Pour into your soap molds. 14. Cover lightly with a piece of parchment paper.. 15. Keep the soap covered, but if you start to see cracks forming in the top, it's getting too hot and should be uncovered. You may also want to place it on a cooling rack to allow cooler air to circulate underneath. 16. Keep the soap in the mold for at least 24 to 48 hours. 17. Unmold and wait a few weeks to let the soap harden more.

