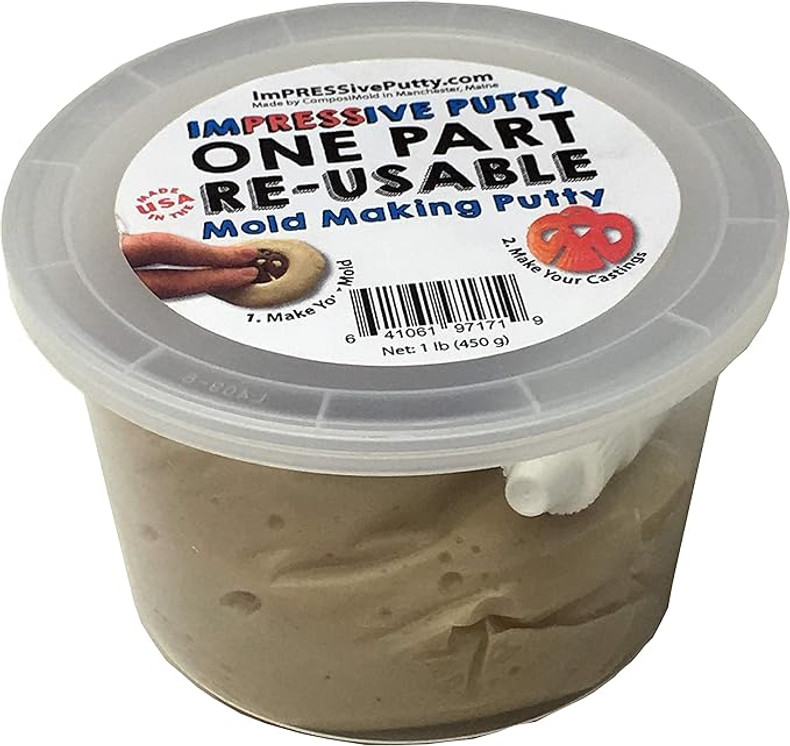
How to Make a Mold and a Plaster Casting with ImPRESSive Putty
Using ComposiMold’s Plaster Additive for Stronger, Harder Castings"
Materials Needed
- ImPRESSive Putty
- Cabinet (as the object to mold)
- ComposiMold’s Plaster Additive
- Plaster of Paris
- Mixing bowl and spatula
- A microwave-safe container (to heat the putty)
- A release agent (e.g., vegetable oil or petroleum jelly)
- Measuring tools (cups, spoon, etc.)
- Water
- Paper towels or cleaning cloth
Step 1
- Clean the cabinet surface to remove dirt, dust, or grease.
- Apply a thin layer of release agent to the area of the cabinet to be molded.
- Tip: Ensure the surface is dry before proceeding.
Step 2 Heat the ImPRESSive Putty
- Place the ImPRESSive Putty in a microwave-safe container.
- Heat it in the microwave in 15–20 seconds intervals until softened or until the putty becomes soft and pliable.
- Be careful not to overheat it. And be careful it’s hot and can burn you.
- Let the Putty cool for about 15 minutes before handling, but still pliable and soft.
Step 3 – Apply the Putty to the Cabinet
- Carefully press/roll the softened ImPRESSive Putty onto the cabinet surface, ensuring full contact with all details.
- Smooth the edges and press firmly to capture the design.
- Allow the putty to cool and harden. You know it’s ready when you press on it and don’t leave a finger print indentation
Step 4 – Remove the Mold
- Gently peel the ImPRESSive Putty mold off the cabinet.
- Inspect the mold for any imperfections. Reheat and reapply if necessary.
Step 5 – Prepare the Plaster Mixture
- In a mixing bowl, first combine Plaster of Paris and ComposiMold’s Plaster Additive. The plaster additive helps the Plaster harden in the Impressive Putty Mold.
- Use the recommended ratio: 4% by weight, Plaster Additive to the Plaster of Paris powder.
- Add water while stirring until the mixture reaches a smooth, pourable consistency. As thick as possible while still being pourable. This is about 26% water to 74% plaster and additive
Step 6 – Pour the Plaster into the Mold
- Place the ImPRESSive Putty mold on a flat surface, ensuring it is stable.
- Slowly pour the plaster mixture into the mold, tapping gently to release air bubbles.
- Allow the plaster to cure for 1–2 hours or until fully hardened.
Step 7 – Remove the Casting
- Once the plaster is fully cured, carefully peel the Putty away from the plaster. The putty is flexible so it can flex away from the brittle plaster.
- Clean the mold with cold water for reuse and wipe with vegetable oil. Store the mold in a sealed bag.
- Inspect the casting for details and smooth edges if needed while the plaster is still soft
Final Step – Finish the Plaster Casting
- Let the plaster casting dry completely for 24–48 hours.
- Optional: Sand or paint the casting to enhance its appearance.
Tips for Success
- Reheat the ImPRESSive Putty as needed—it’s reusable!
- Use a fine brush to remove any small air bubbles from the plaster.
- Store the putty in a clean container to maintain its quality.
Thank you and Next Steps
- Thank you for watching/reading and for following along!
- Experiment with different objects and designs and have fun.
- Visit ImpressivePutty.com for more materials and tutorials.

