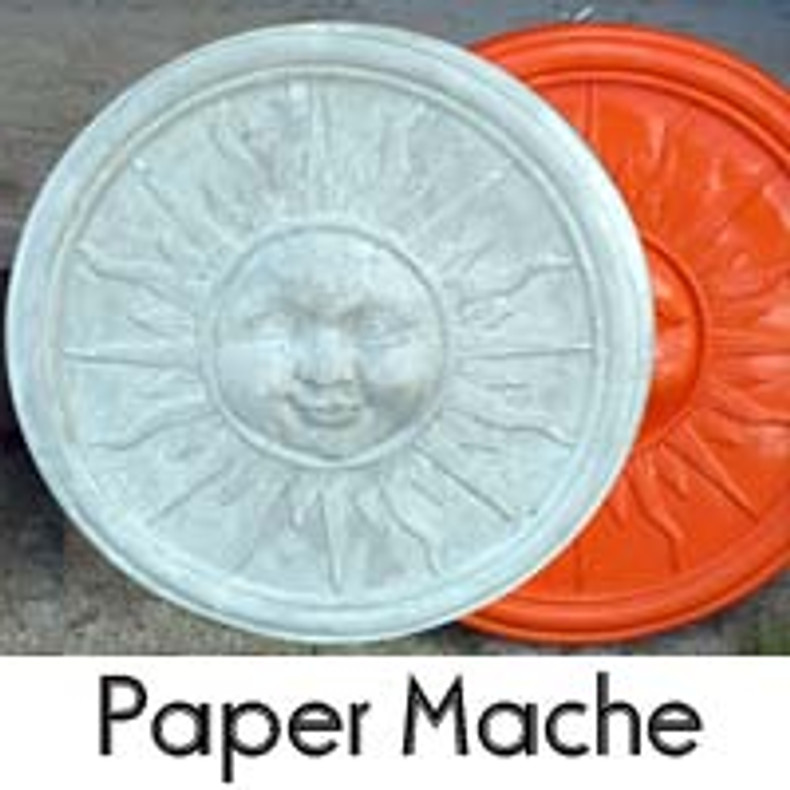
When it comes to artistic expression, there are countless ways to unleash your creativity. One fascinating technique that combines sculpture, molding, and hands-on artistry is crafting paper mache shapes using ComposiMold molds. This innovative approach allows you to transform your imaginative designs into tangible masterpieces. In this blog post, we'll guide you through the process of making a paper mache shape using a ComposiMold mold, opening up a world of possibilities for your artistic endeavors.
What You'll Need
1. ComposiMold Mold: This versatile mold-making material is perfect for creating reusable molds that capture intricate details with precision.
2. Paper Mache Mixture: You can make your own by combining water and flour, or use pre-made mixtures available in craft stores.
3. Newspaper Strips: Cut or tear newspaper into thin strips for the paper mache layers.
4. Paints and Brushes: For adding color and detail to your final paper mache shape.
5. Release Agent: USE Talcum Powder as a release agent to help release the paper mache from the mold.
Step-by-Step Guide for Paper Mache in ComposiMold:
1. Design Your Shape:
Before you begin, decide on the shape you want to create. It could be a simple form or a more intricate design. Keep in mind that the mold will capture all the details, so ensure your design is well-defined.
2. Prepare the ComposiMold:
Follow the instructions on the ComposiMold packaging to melt and prepare the material. Once it's ready, carefully pour it over your chosen object (or sculpted shape) that you want to replicate. Allow the ComposiMold to cool and solidify, creating a mold of your design.
3. Release Agent:
To ensure easy removal of the paper mache from the mold, apply a thin layer of talcum powder as release agent to the inside of the mold. This will prevent the paper mache from sticking to the mold's surface.
4. Apply Paper Mache:
Dip the newspaper strips into the paper mache mixture, ensuring they're fully coated. Gently remove any excess mixture by running the strips through your fingers. Begin layering the strips inside the mold, making sure to press them firmly against the mold's contours. Build up several layers, allowing each layer to dry before adding the next.
5. Remove from Mold:
Once your paper mache layers have dried completely and hardened, carefully remove the shape from the ComposiMold mold. The release agent should make this process smooth and seamless. Pull the ComposiMold AWAY from the paper mache. The ComposiMold will flex and make it easier to pull away.
6. Finishing Touches:
Now comes the fun part—adding color and details to your paper mache shape! Use paints, markers, or other art supplies to bring your creation to life. You can experiment with different techniques to achieve the desired effect.
7. Display and Enjoy:
With your paper mache shape complete, find the perfect spot to display your masterpiece. Whether it's a decorative element for your home, a gift for a friend, or a unique addition to your art collection, your creation is sure to be a conversation starter.
Crafting a paper mache shape using a ComposiMold mold is a wonderful blend of creativity and craftsmanship. This technique empowers you to transform your ideas into tangible forms, all while experiencing the joy of artistic exploration. So gather your materials, let your imagination run wild, and embark on a creative journey that results in a one-of-a-kind paper mache masterpiece.

